Configuration
Here we discuss how to configure the Magento 2 Pay With Progressive Plugin.
General Configuration
In order to connect the plugin to our servers and ensure that the orders are going to the correct place, we will need to collect a few fields of information in the Admin section of Magento 2.
To begin, we will be going to the main menu in the Admin section and using the menu to select the following: Stores > Configuration
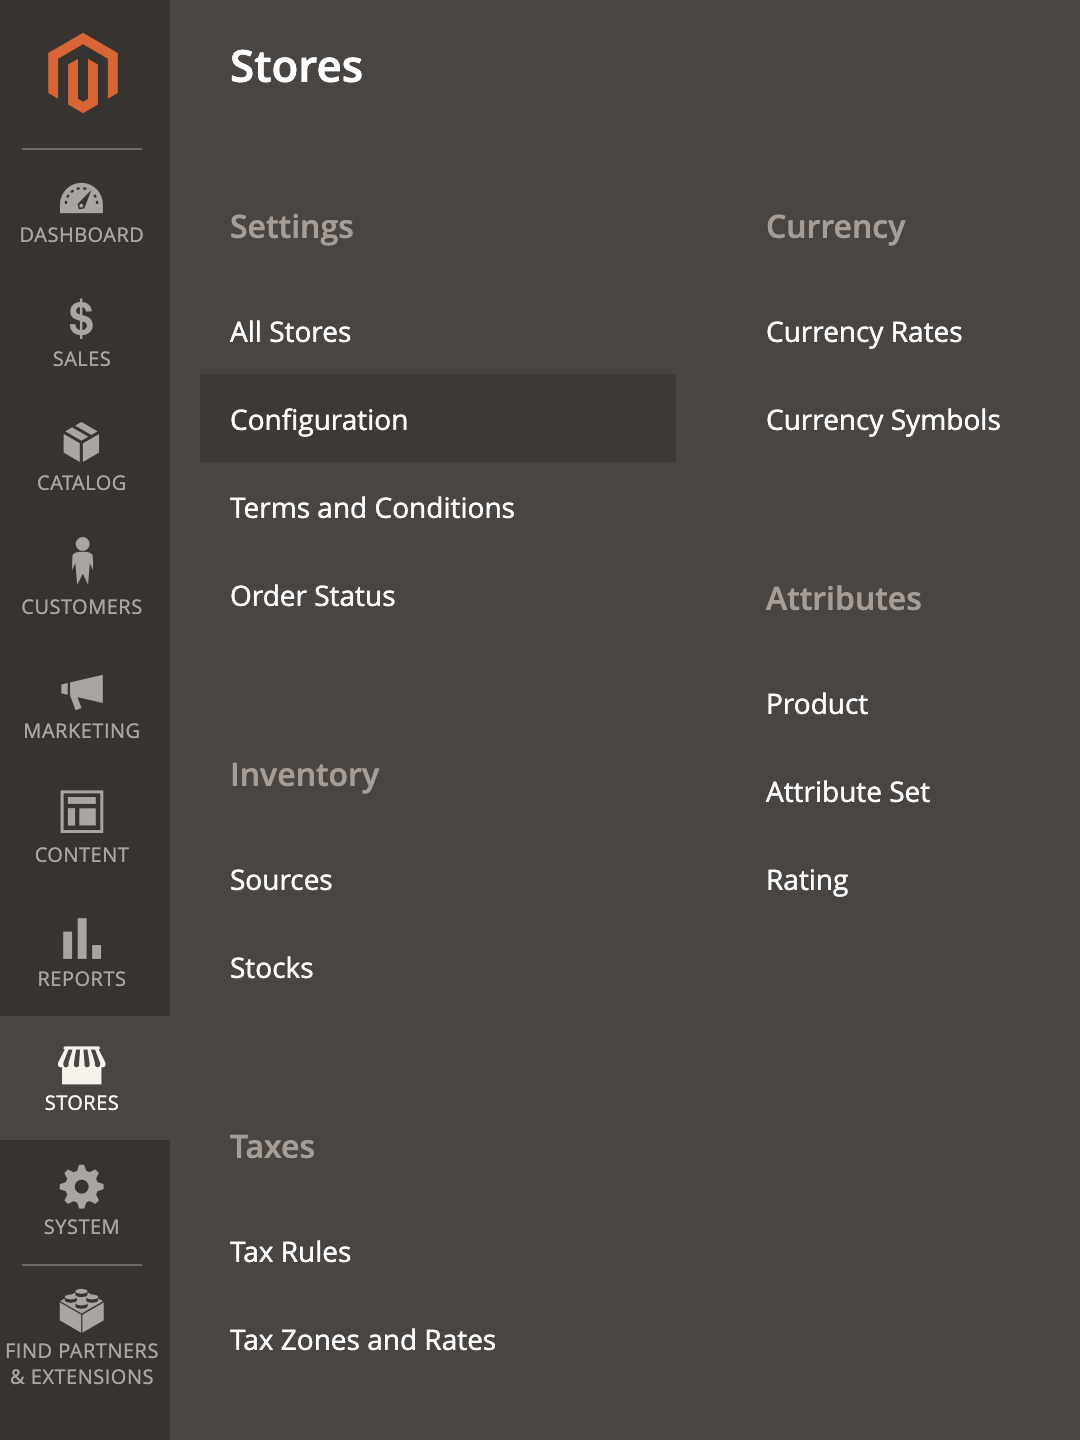
Once there, we will use the next menu to navigate to: Sales > Payment Methods
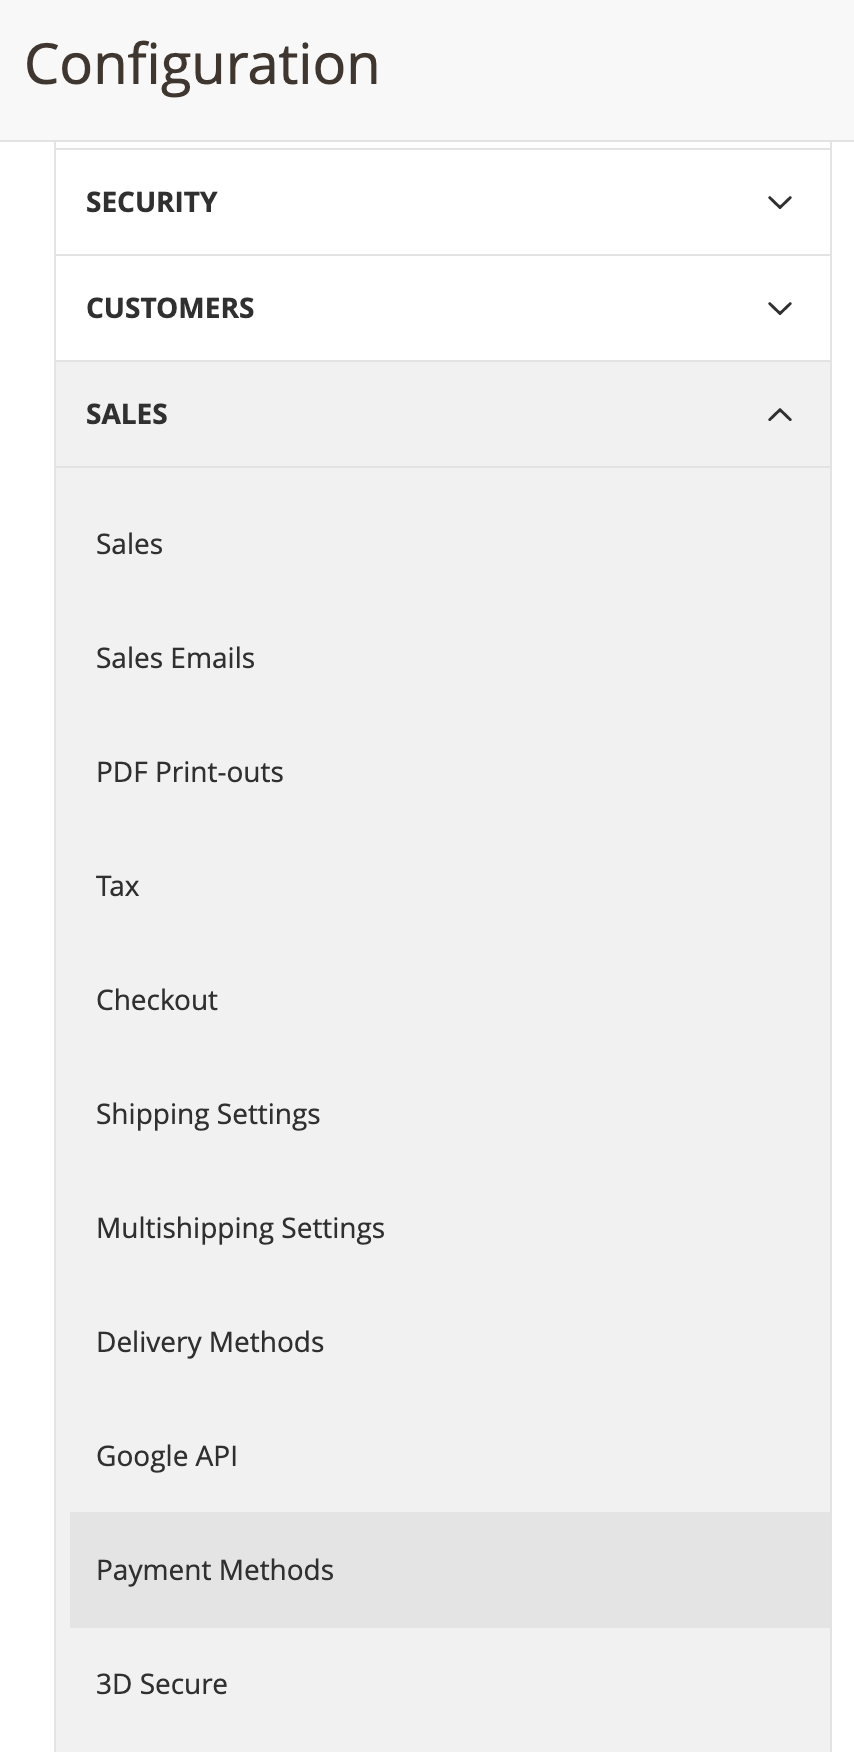
You will see an option in your Payment Methods for Progressive. It will appear like this:
Sandbox vs Production Options
The Api Mode defaults to "Demo", which is great for sandbox.
When you upload your changes to production, you will need to change the Api Mode and the other associated options here.
Make Progressive Deals Tax Exempt
This must always be set to YES. Exceptions to this would be arranged with Progressive Finance & Accounting Teams prior to implementation. This setting ensures that customers are not double-taxed on Progressive transactions, in which Progressive taxes initial payment and all recurring payments.
If these changes do not take effect immediately:
- In the Magento admin panel, go to System > Cache Management
- Click Flush Magento Cache
- Sign out
- Sign back in to reset permissions
If you have already talked to Progressive Merchant Support, you may already know the values you should enter in the fields. If so, go ahead and make sure to Save Config by clicking the orange button on the top right.
If you need to request API keys or have questions about completing the fields, please contact Progressive at:
Once you receive the values you need to insert, put them in their respective fields and then click the Save Config button in the top right.
Marking Items as Leasable
Now that we have the plugin connected to Progressive Leasing, we can start marking items as Leasable.
To do this, go to the Catalog > Products page in the Admin section of Magento 2. Then select an item you would like to make leasable and click the Edit link to go to the Product Detail page.
In the list of attributes you should now see some Progressive-specific attributes that you can edit for each Product:
This allows you to mark any item in your product catalog as Leasable or as a Progressive Used Item.
It is possible to modify the lease attribute for a group of existing products. Just select each item you wish to modify, then Actions > Update attributes. Scroll down to "Progressive Leasable item"
Indicate your change, check the "Change" box, and save your changes.
Leasable Items
Not all items are leasable. Before issuing production keys, Progressive will walk through your leasable items to ensure proper configuration.
Progressive Leasing allows a large assortment of items to be leased, but there are restrictions.
Leasable Items Include
- Furniture
- Appliances
- Electronics
- Stereo Equipment
- Audio and DJ equipment
- Computers and Laptops
- Tablets
- Camera equipment
- Cables and cords for televisions
- Hoses for appliances
Prohibited Items:
- Drones
- Hoverboards
- Gift cards
- Firearms
- Items requiring licensing
- Items requiring permanent installation that cannot be returned ex; installed home theatre equipment and surveillance equipment
- Membership fees
- Recycling fees
- Apparel
- Consumables
Lease Payment Estimator
By default the Lease Payment Estimator does not show up on any product detail pages. To get a link like that added, we just need to change a couple of options in the Admin section of Magento 2.
The link we make will look similar to the link below:
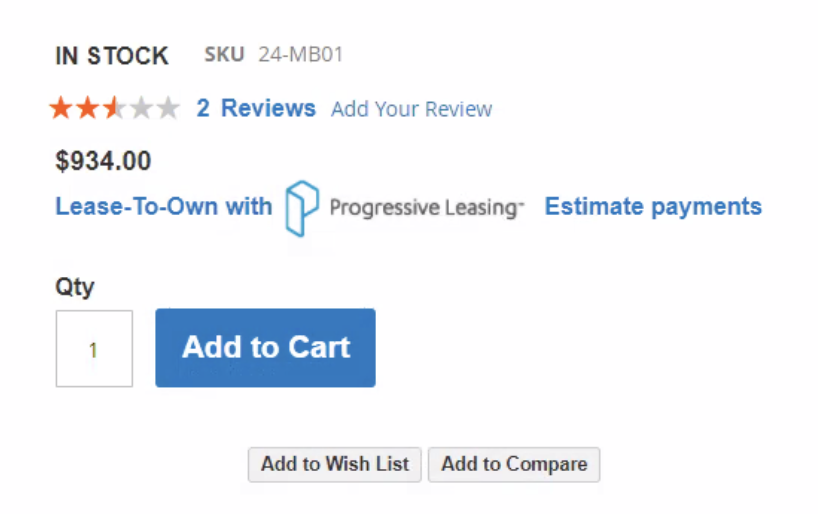
In order to get that link showing up on all leasable items, in the Admin section, navigate to Content > Widgets
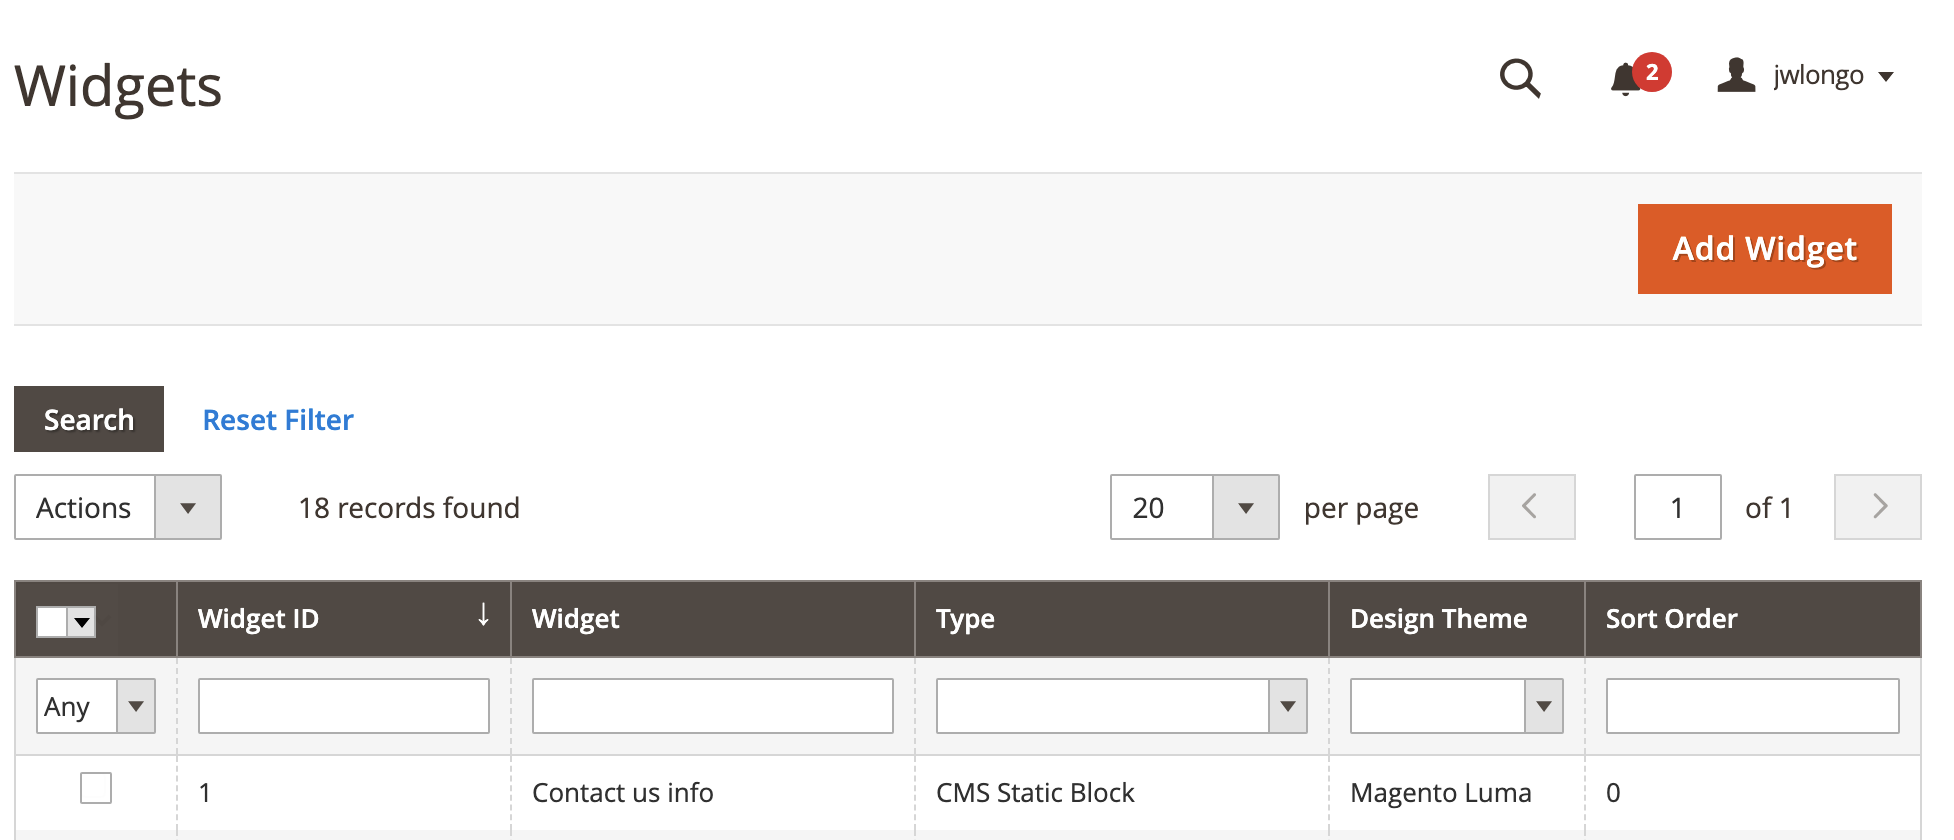
In order to get the link created, we will have to create a new widget. Do that by clicking the orange "Add Widget" button in the top right. This will bring up a new screen allowing you to change the options for this new widget:
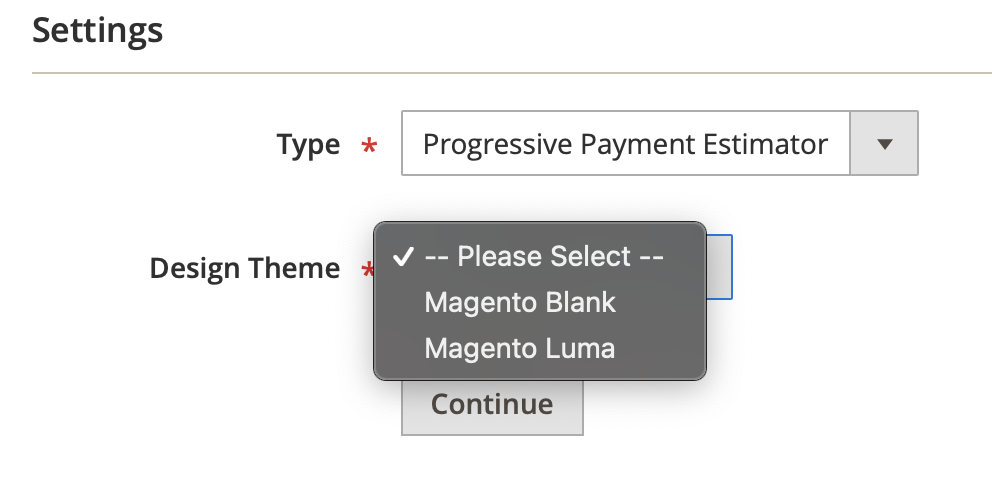
In the Settings, select the type "Progressive Payment Estimator". You can choose the appropriate option depending on your theme. In this example, we chose Luma. Once you click continue, you will be presented with a new screen similar to this:

Each widget requires a title for your reference. We suggest you pick something that you will easily remember. In this example we use the title "Progressive Payment Estimator". You will then elect the store views for which this applies. In our example, we choose "All Store Views" so the link will appear on every leasable product detail page.
"Sort Order" determines the order of appearance, with 0 being the highest. We will put 0 so that it is the highest priority item in the list. After "Sort Order", there is a button that says "Add Layout Update". Click that button and you will get a drop-down element that allows you to select an option like this:
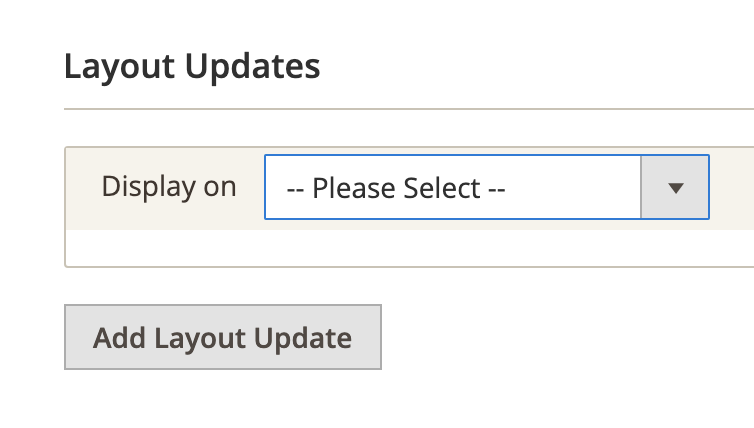
You can elect individual products or select all. In our example we chose "All Product Types", but you can choose what applies to your needs. Once you do that, you will get another new input like this:

In this step, you will select the container for the widget. The "Product info auxiliary container" is a good place because it shows up right under the price, but you can choose what works best for you.
Do not click "Save" just yet because we still need to complete the required information. We have finished filling out the details in the Storefront Properties, but we still need to fill out some in the Widget Options. You can switch this by clicking the menu in the top-left.

If presented with "Average Lease Term", we recommend the value be set to 90 days. Depending on version, this field might not be there.
Now you can click "Save".
Caching
You may have to flush your Magento Cache after that to get the settings to save, but once you do, there should be a link included on all product detail pages of leasable items just like the one at the beginning of this section.
Disabling the Progressive Leasing Plugin
When disabling the Progressive Leasing Magento extension, use the “Enabled” setting in Magento Admin and select “No” from the dropdown.

Reminder
Using this method to disable, rather than running the disable command in Magento command lines, will ensure that Progressive lease data, including Lease IDs associated with orders, is retained in Magento Admin. Progressive lease data will always be retained in the Magento Database, but won’t be displayed in Admin if the extension is disabled via the command line.
Updated over 2 years ago