Adding Banners
Banners are a great way to highlight Progressive Leasing as a checkout option to customers.
The purpose of Banners is to show to customers the option to pay for items using Progressive Leasing, as well as help customers get a Lease Approval Amount. An example of a banner is:

In this section we will discuss implementing these banners.
Banners - Merchant Resources
If you would like to see the available Banners, Buttons and Logos, click this link:
Merchant Resources
Banner Content Blocks
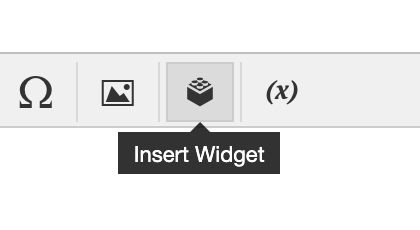
In the Admin Section of Magento 2, navigate to Content > Blocks. Choose a block to edit. In the editor at the bottom of the block detail page, we will click the Widget option in the toolbar at the top:

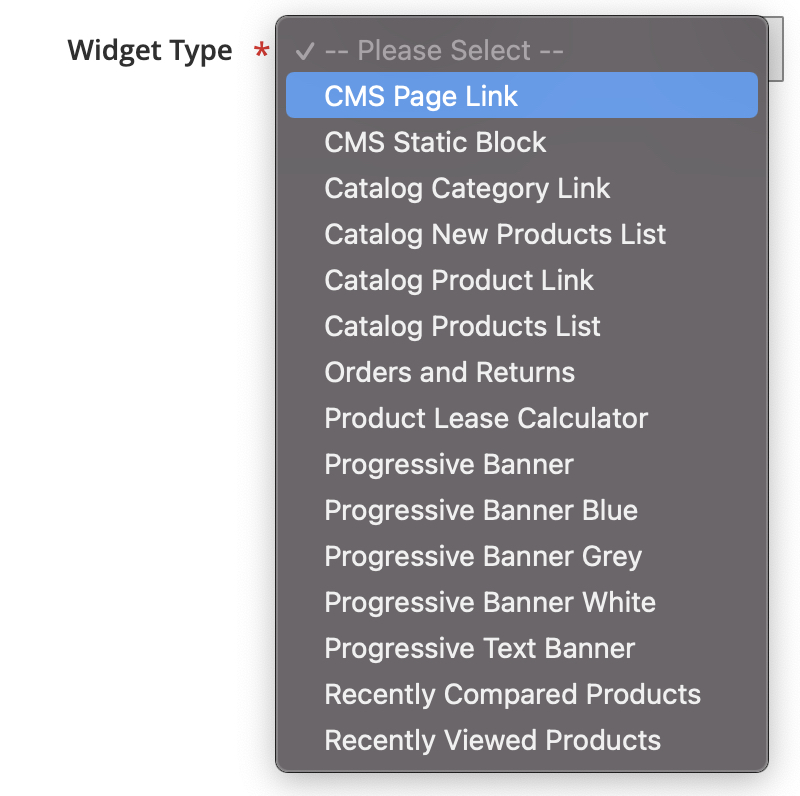
You should see a similar list of options as the ones below.

You can preview each of the options presented under "Progressive Banner" by clicking the button that says "See a Preview of All Available Banners." Progressive Banner Blue, Progressive Banner Grey, and Progressive Banner White options will display a preview of the banner below the Widget Type when selected.
Banner Placement
You may place these banners on marketing landing pages that advertise Progressive Leasing as a payment method. Avoid use of banners or language using “Financing options” when referring to Progressive Leasing, which is a lease-to-own or flexible leasing option.
New Banner Requests
We can add to the widget options with other banners and text in the future. Requests for additional widget types and text will be reviewed by Progressive Marketing and Compliance teams, and should be sent to [email protected].
Additional Resources
You can see all banner names at Progressive Online Banner Guide
All banner images can be previewed at Merchant Resources Library
Note
Progressive recommends that banners are implemented using Content Blocks as discussed above, not directly by JavaScript. These resource libraries are meant for preview purposes only.
Updated over 3 years ago
Lastly, feel free to take a look at what has changed since the most recent release.